How to Create a More User-Friendly Man Page
A step-by-step guide to improving man pages by adding a terse synopsis, options summary, categorized options, and a cheat sheet section, with tips for implementation.
Introduction
Man pages are the cornerstone of Unix and Linux documentation, but they can often feel cluttered and hard to navigate—especially when you’re trying to quickly find a specific option or syntax. Over the years, power users have developed clever techniques to make man pages more accessible, turning them into effective cheat sheets. By learning a few simple design patterns, you can transform your own man pages into tools that help readers find the information they need at a glance. This guide walks you through the process step by step, using real-world examples from well‑crafted man pages like rsync, strace, and the Perl documentation suite.
What You Need
- A man page source file – This could be written in troff (usually with a
.1–.8extension), POD (Perl’s plain old documentation), or other formats like AsciiDoc or Markdown that can be converted. - A text editor – Any plain‑text editor will work (vim, nano, VS Code, etc.).
- Basic familiarity with your markup language – You don’t need to be an expert, but you should know how to create sections, paragraphs, and lists.
- A man page viewer – Use
manon your system to test the result. - Optional: a “cheat sheet” design tool – Sometimes a simple ASCII grid or a spreadsheet helps lay out the compact tables.
Step‑by‑Step Instructions
Step 1: Trim the Synopsis Down to the Essentials
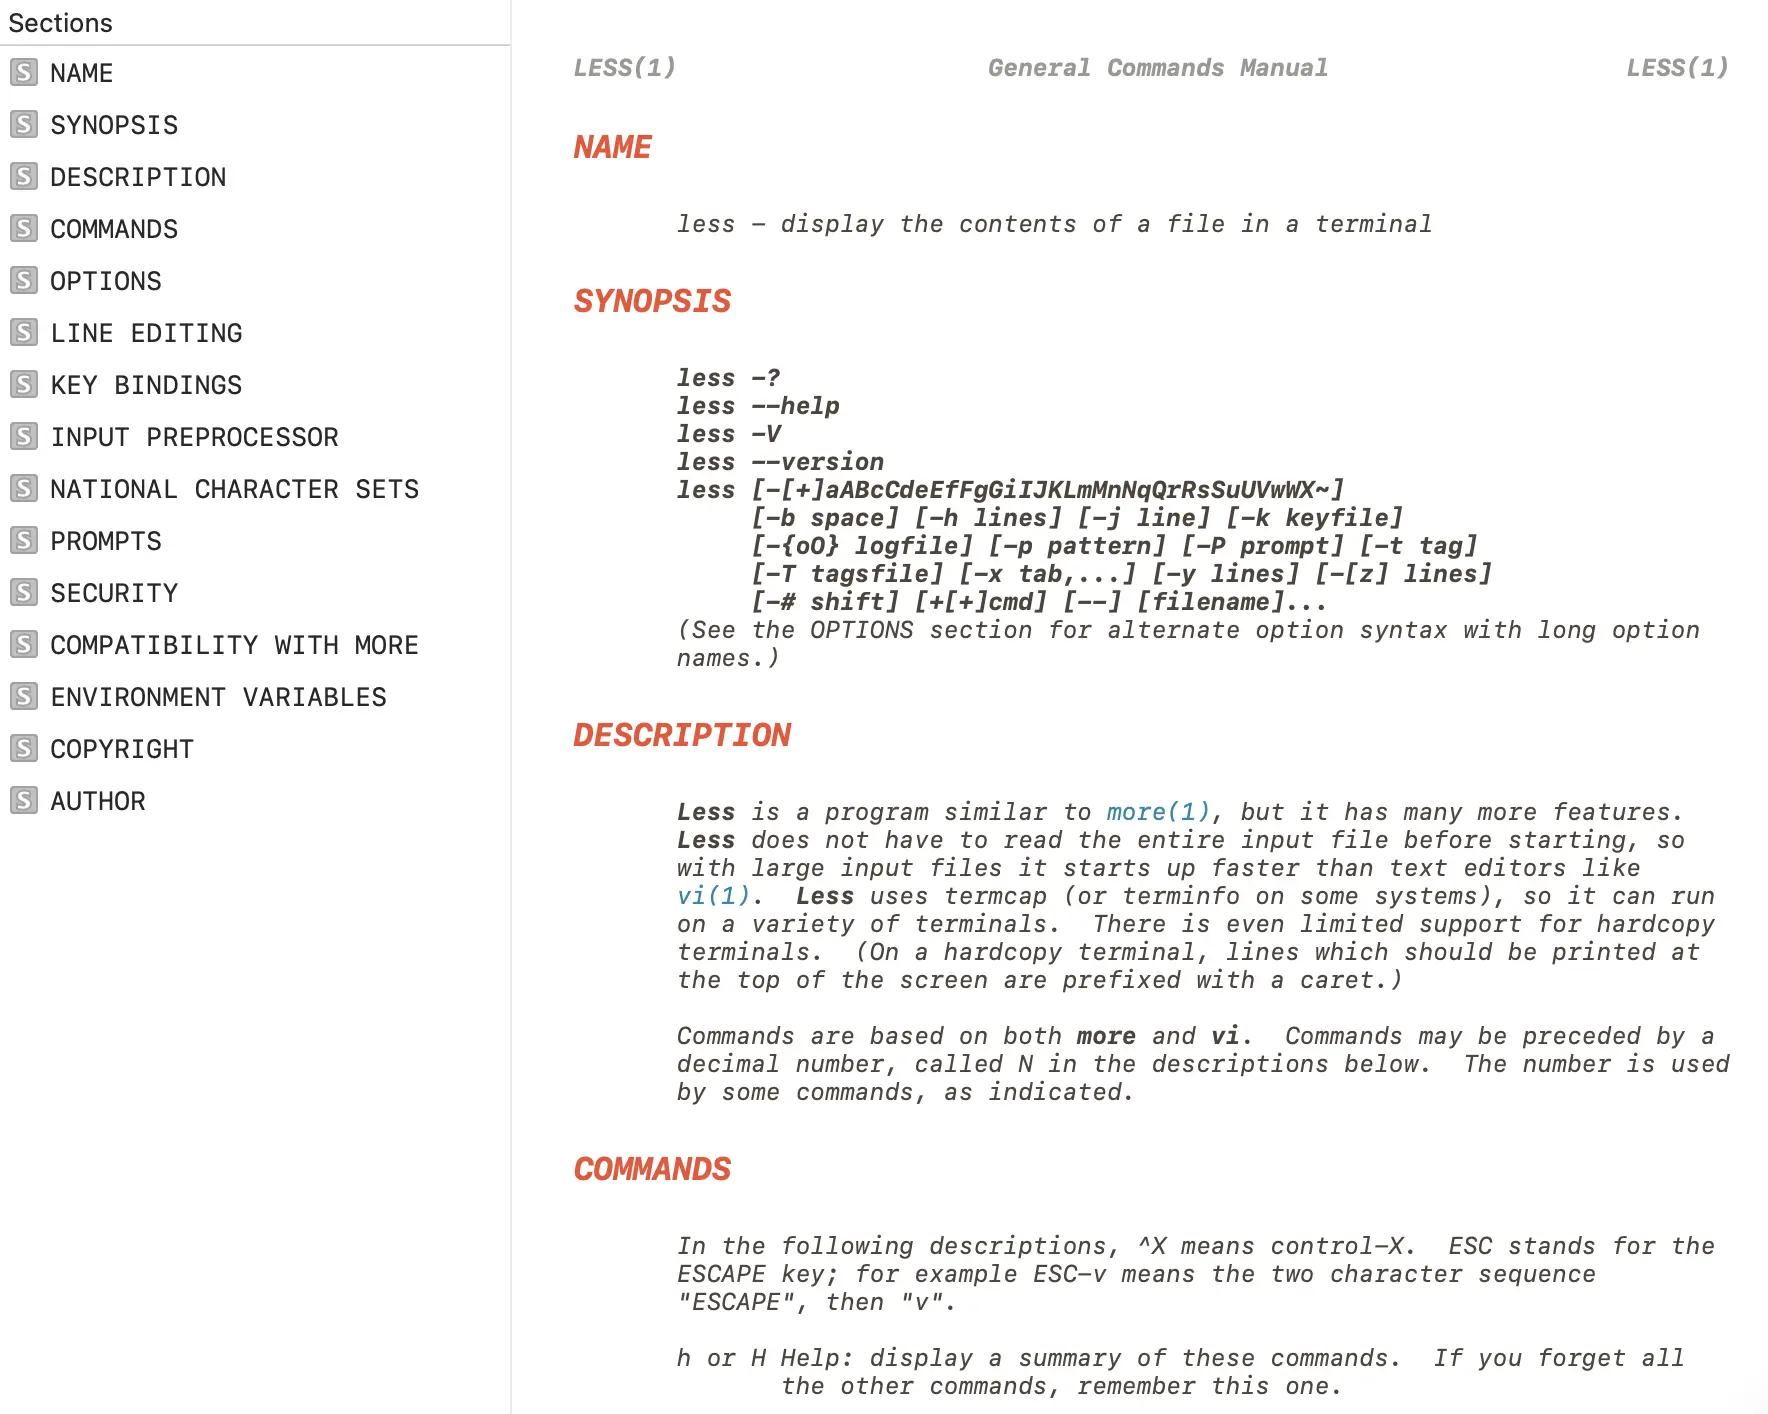
Most man pages begin with a SYNOPSIS section that lists every option. When a tool has dozens of flags, this becomes a dense, unreadable wall of text. Take a cue from the rsync man page and keep your synopsis terse. For example:
Local:
    rsync [OPTION...] SRC... [DEST]
This tells the reader the basic command structure without overwhelming them. You can later explain each option in detail. To implement this, rewrite your SYNOPSIS to show only the command skeleton and a placeholder like [OPTION...] for the flags.
Step 2: Add an ‘OPTIONS SUMMARY’ Section
Right after the SYNOPSIS (or as the next major section), insert an OPTIONS SUMMARY. This is a compact, one‑line‑per‑option table. For each option, include its long form, short form (if any), and a very brief description. The rsync man page does this perfectly:
--verbose, -v            increase verbosity
--info=FLAGS             fine-grained informational verbosity
--debug=FLAGS            fine-grained debug verbosity
--stderr=e|a|c           change stderr output mode (default: errors)
--quiet, -q              suppress non-error messages
--no-motd                suppress daemon-mode MOTD
To create your own summary, list every option in a two‑column (or three‑column) format. Use monospaced text for readability. This section acts as a quick reference—readers can scan it instead of wading through lengthy descriptions.
Step 3: Organize Options by Category (Optional but Powerful)
Instead of listing options alphabetically, group them by functional category. The strace man page uses categories like General, Startup, Tracing, Filtering, and Output Format. This helps users who know what they want to do (e.g., “I need filtering options”) quickly locate the relevant flags.
To do this, first identify the natural groups your options fall into. Then, in your OPTIONS SUMMARY, add subheadings for each category. You can optionally do the same in the full OPTIONS section. Experiment like the author did with the grep man page—try grouping options conceptually and see if it makes scanning easier.
Step 4: Embed a Concise ‘Cheat Sheet’ Section
A cheat sheet presents the most common syntax patterns in a condensed, 80‑column table. The Perl documentation suite includes man perlcheat, which is entirely a cheat sheet. For example, it shows control structures in a compact layout:
foreach (LIST) { }     for (a;b;c) { }
while   (e) { }        until (e)   { }
if      (e) { } elsif (e) { } else { }
unless  (e) { } elsif (e) { } else { }
given   (e) { when (e) {} default {} }
Identify the five to ten most‑used command patterns for your tool and format them as a small table. Use consistent column widths and align with spaces or tabs. Place this section near the top (maybe after the SYNOPSIS) so experienced users can copy‑paste without reading full descriptions.
Step 5: Maintain a Traditional OPTIONS Section for Full Details
After the summary and cheat sheet, include the usual OPTIONS section with a full description of each flag. This is where you provide the rationale, default values, and examples. The summary section gives a bird’s‑eye view, while this section is the exhaustive reference. Readers will flip to it when they need more detail.
Tips for Success
- Test your man page on different terminal widths. The cheat sheet and option summary should fit comfortably within 80 columns—the standard width for terminal windows. If a line is too long, break it or abbreviate.
- Keep descriptions in the summary extremely terse – aim for 30‑40 characters per option. If you can’t, consider whether that option really needs to be in the summary.
- Use the same category names in both the summary and the full OPTIONS section to create a consistent mental model for the reader.
- Consider adding a “FREQUENTLY USED” or “QUICK REFERENCE” note at the very top of the man page, pointing to the cheat sheet or summary.
- Iterate with user feedback – ask colleagues or the open‑source community if the new layout helps them find options faster.
- If you’re writing a POD or man‑page converter like
pod2man, you can often use custom formatting (like=head2and=over) to create these sections. In troff, use.SHand.TPmacros. - Remember the mantra: “summary for scanning, details for learning.” The goal is to reduce the cognitive load for users who just need a quick reminder.
By following these steps, you’ll create a man page that serves both as a thorough reference and as an instant cheat sheet—exactly the kind of documentation that saves users time and frustration.